CASE STUDY: Leltex House
The installation of architectural cladding on existing buildings can genuinely transform it from outdated and and unsightly to modern and attractive – but it isn’t always as straightforward as we would like.
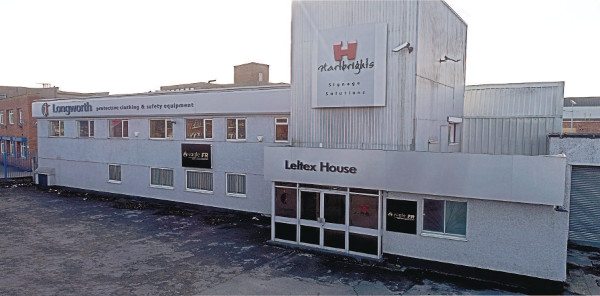
This was underlined when we undertook the cladding of our own home, Leltex House in South Manchester. As you can see from the photo below, the building hadn’t seen much love in quite some time and was certainly looking dated, if not ugly! We chose to give the place a building envelope not only to bring Leltex House into the 21st Century, but also to showcase just what Hartbrights Architectural Cladding can do for your premises – no matter how old or what potential problems it may pose.

Leltex House, Manchester
In addition to cladding the building we were intent on expanding the second floor with the addition of an office to the right of the tower. This added a new dimension to the project but also allowed us to create a somewhat symmetrical frontage.
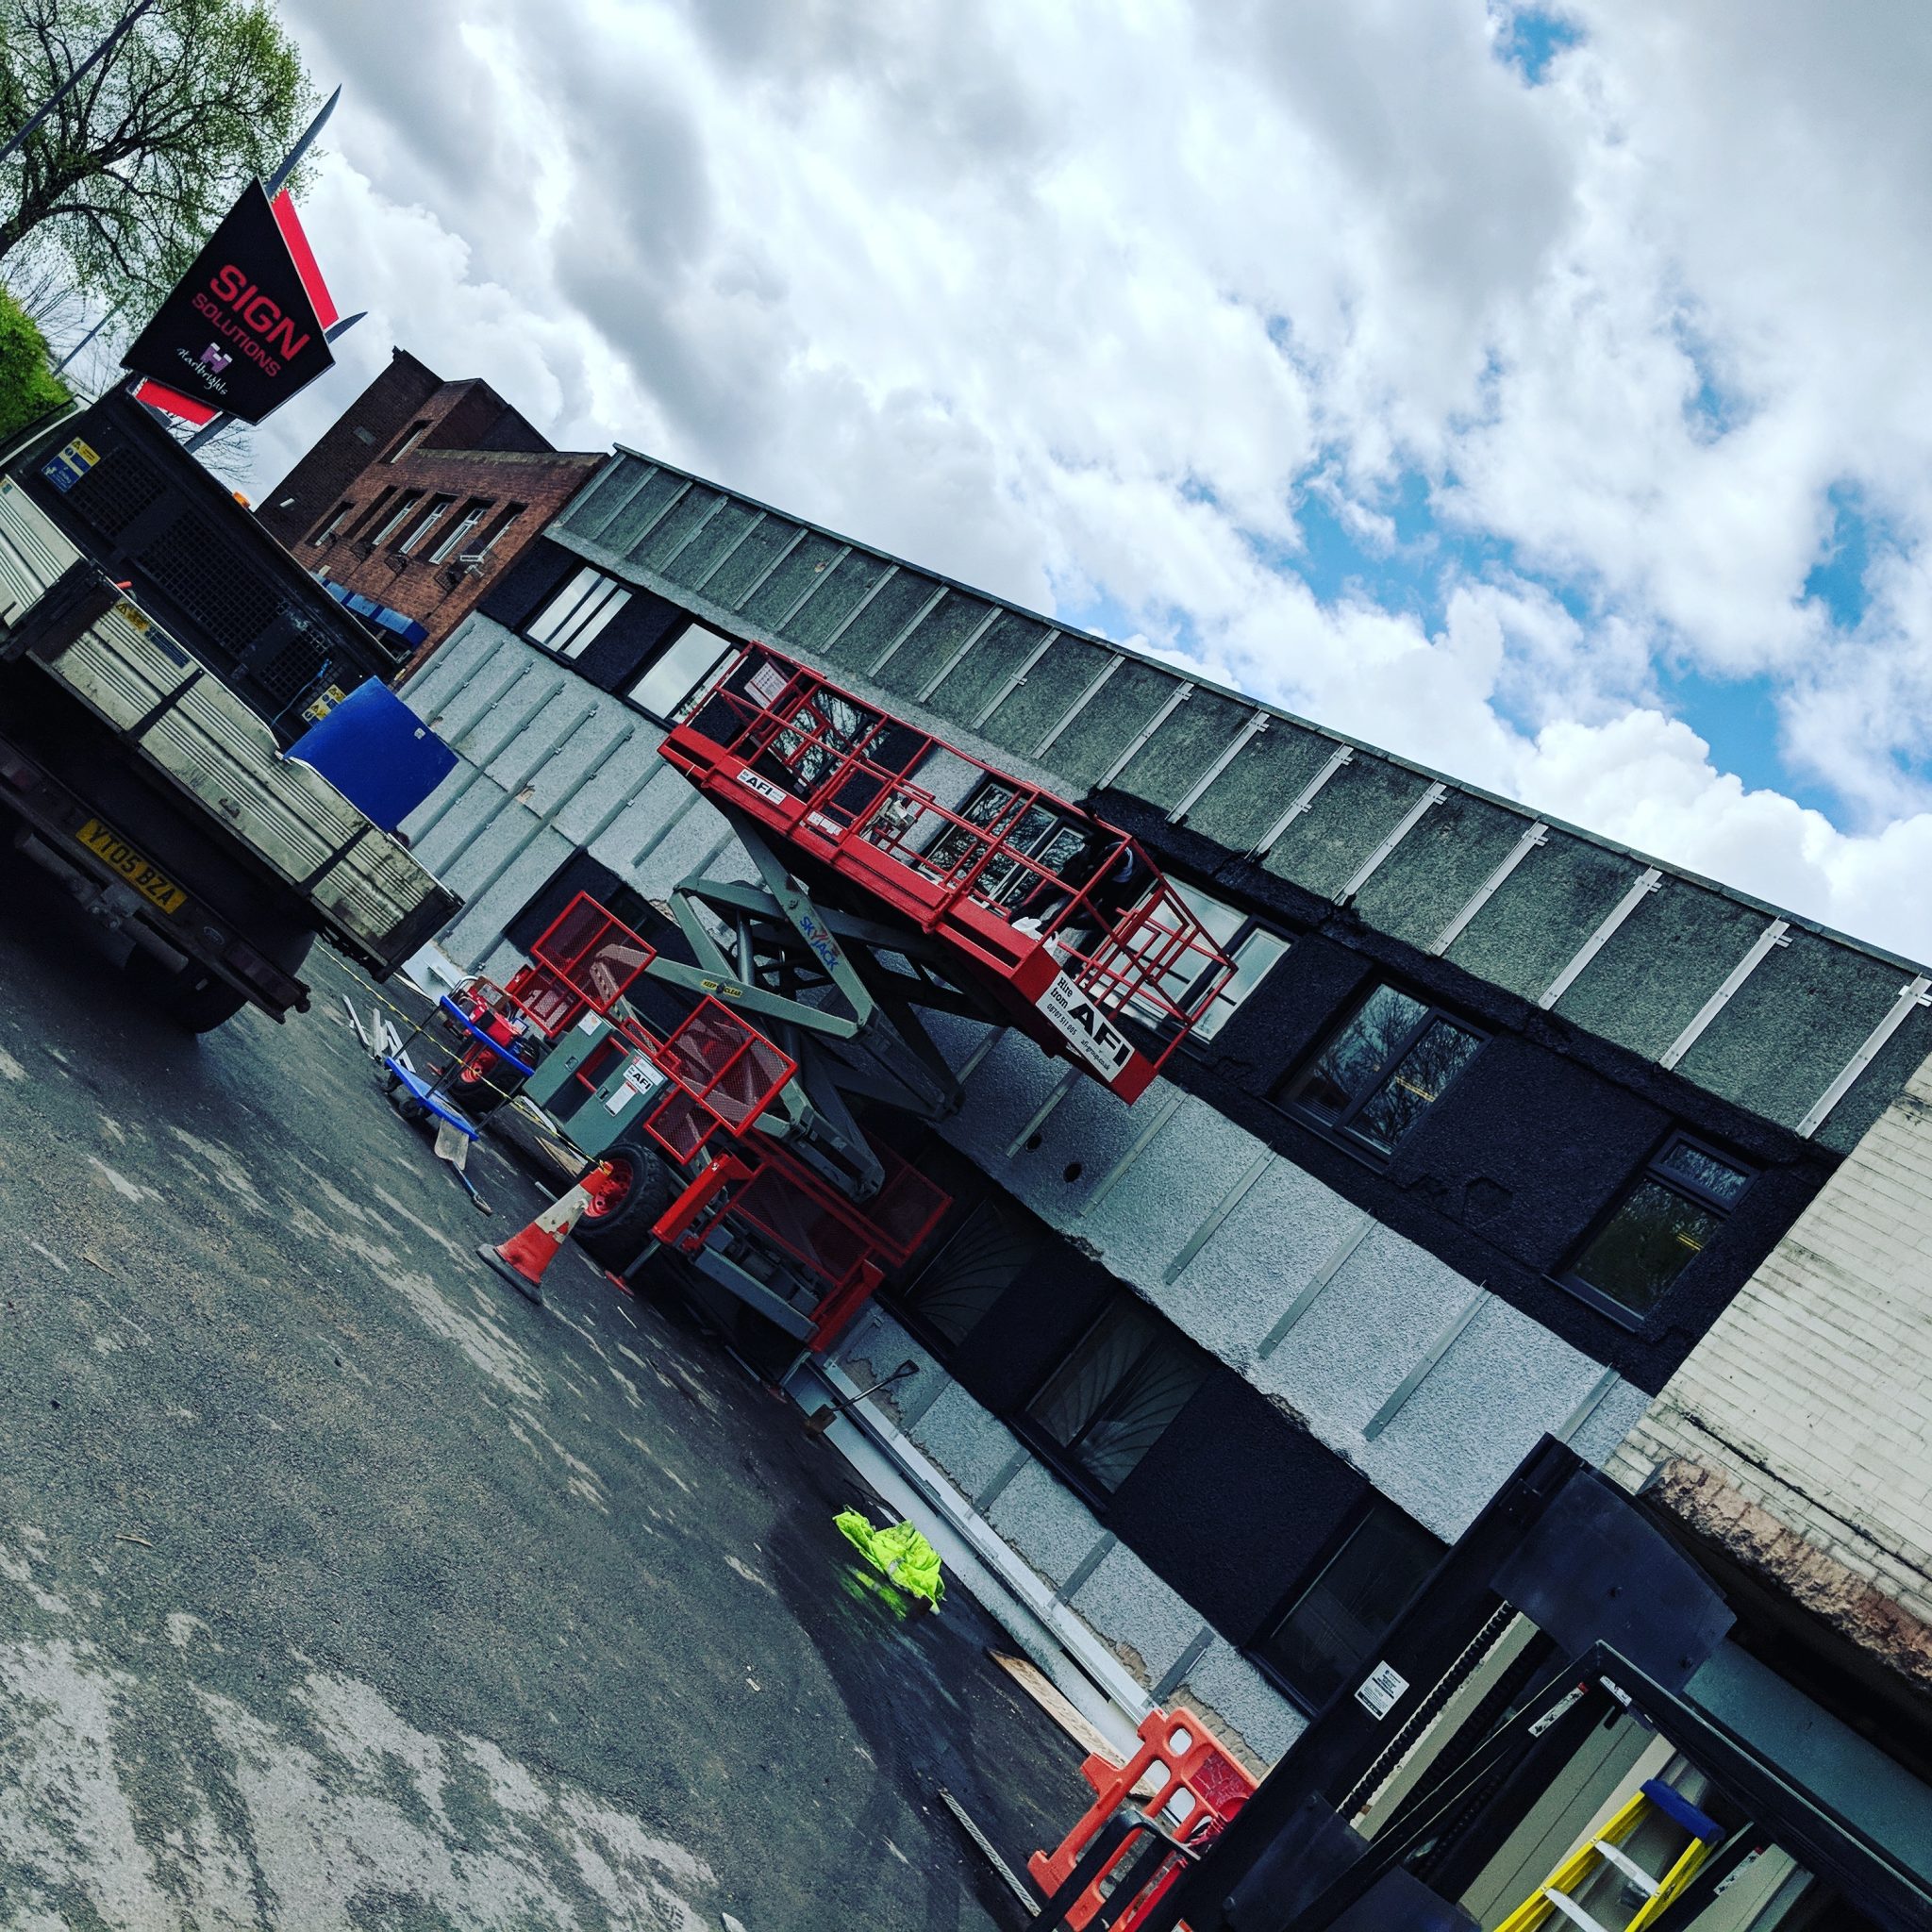
Stage One
To prepare the building we had to remove all existing signage for the companies that call Leltex House home, as well as the existing aluminium ‘cladding’. At the same time we ripped out the front doors you can see in the photo to make way for an ultra-modern tinted glass entrance.
Once this was complete work began on the additional office space on the second floor and the roofing around it and the tower was replaced to ensure it was weatherproof and would work with the cladding. While this was being done the rest of the building was prepared for fitting of the cladding – and this is where the first hurdle presented itself.
Stage Two
When installing the metalwork onto which the cladding is applied we found that the walls of Leltex House weren’t the straightest! This meant that each section had to be carefully measured, the fittings adjusted to ensure that when the cladding was applied it was completely level. Without this painstaking work the finished product would not have looked as it should.
This can be a common problem with older buildings and our teams of installers have the knowledge and expertise to tackle it quickly and effectively.
Fortunately, this problem only applied to one section of the building – the tower, the new office space and the area to the right of the main entrance would not pose the same difficulties. Once the metalwork was fixed to the building and each section was determined to provide a flat surface, installing the cladding panels began.
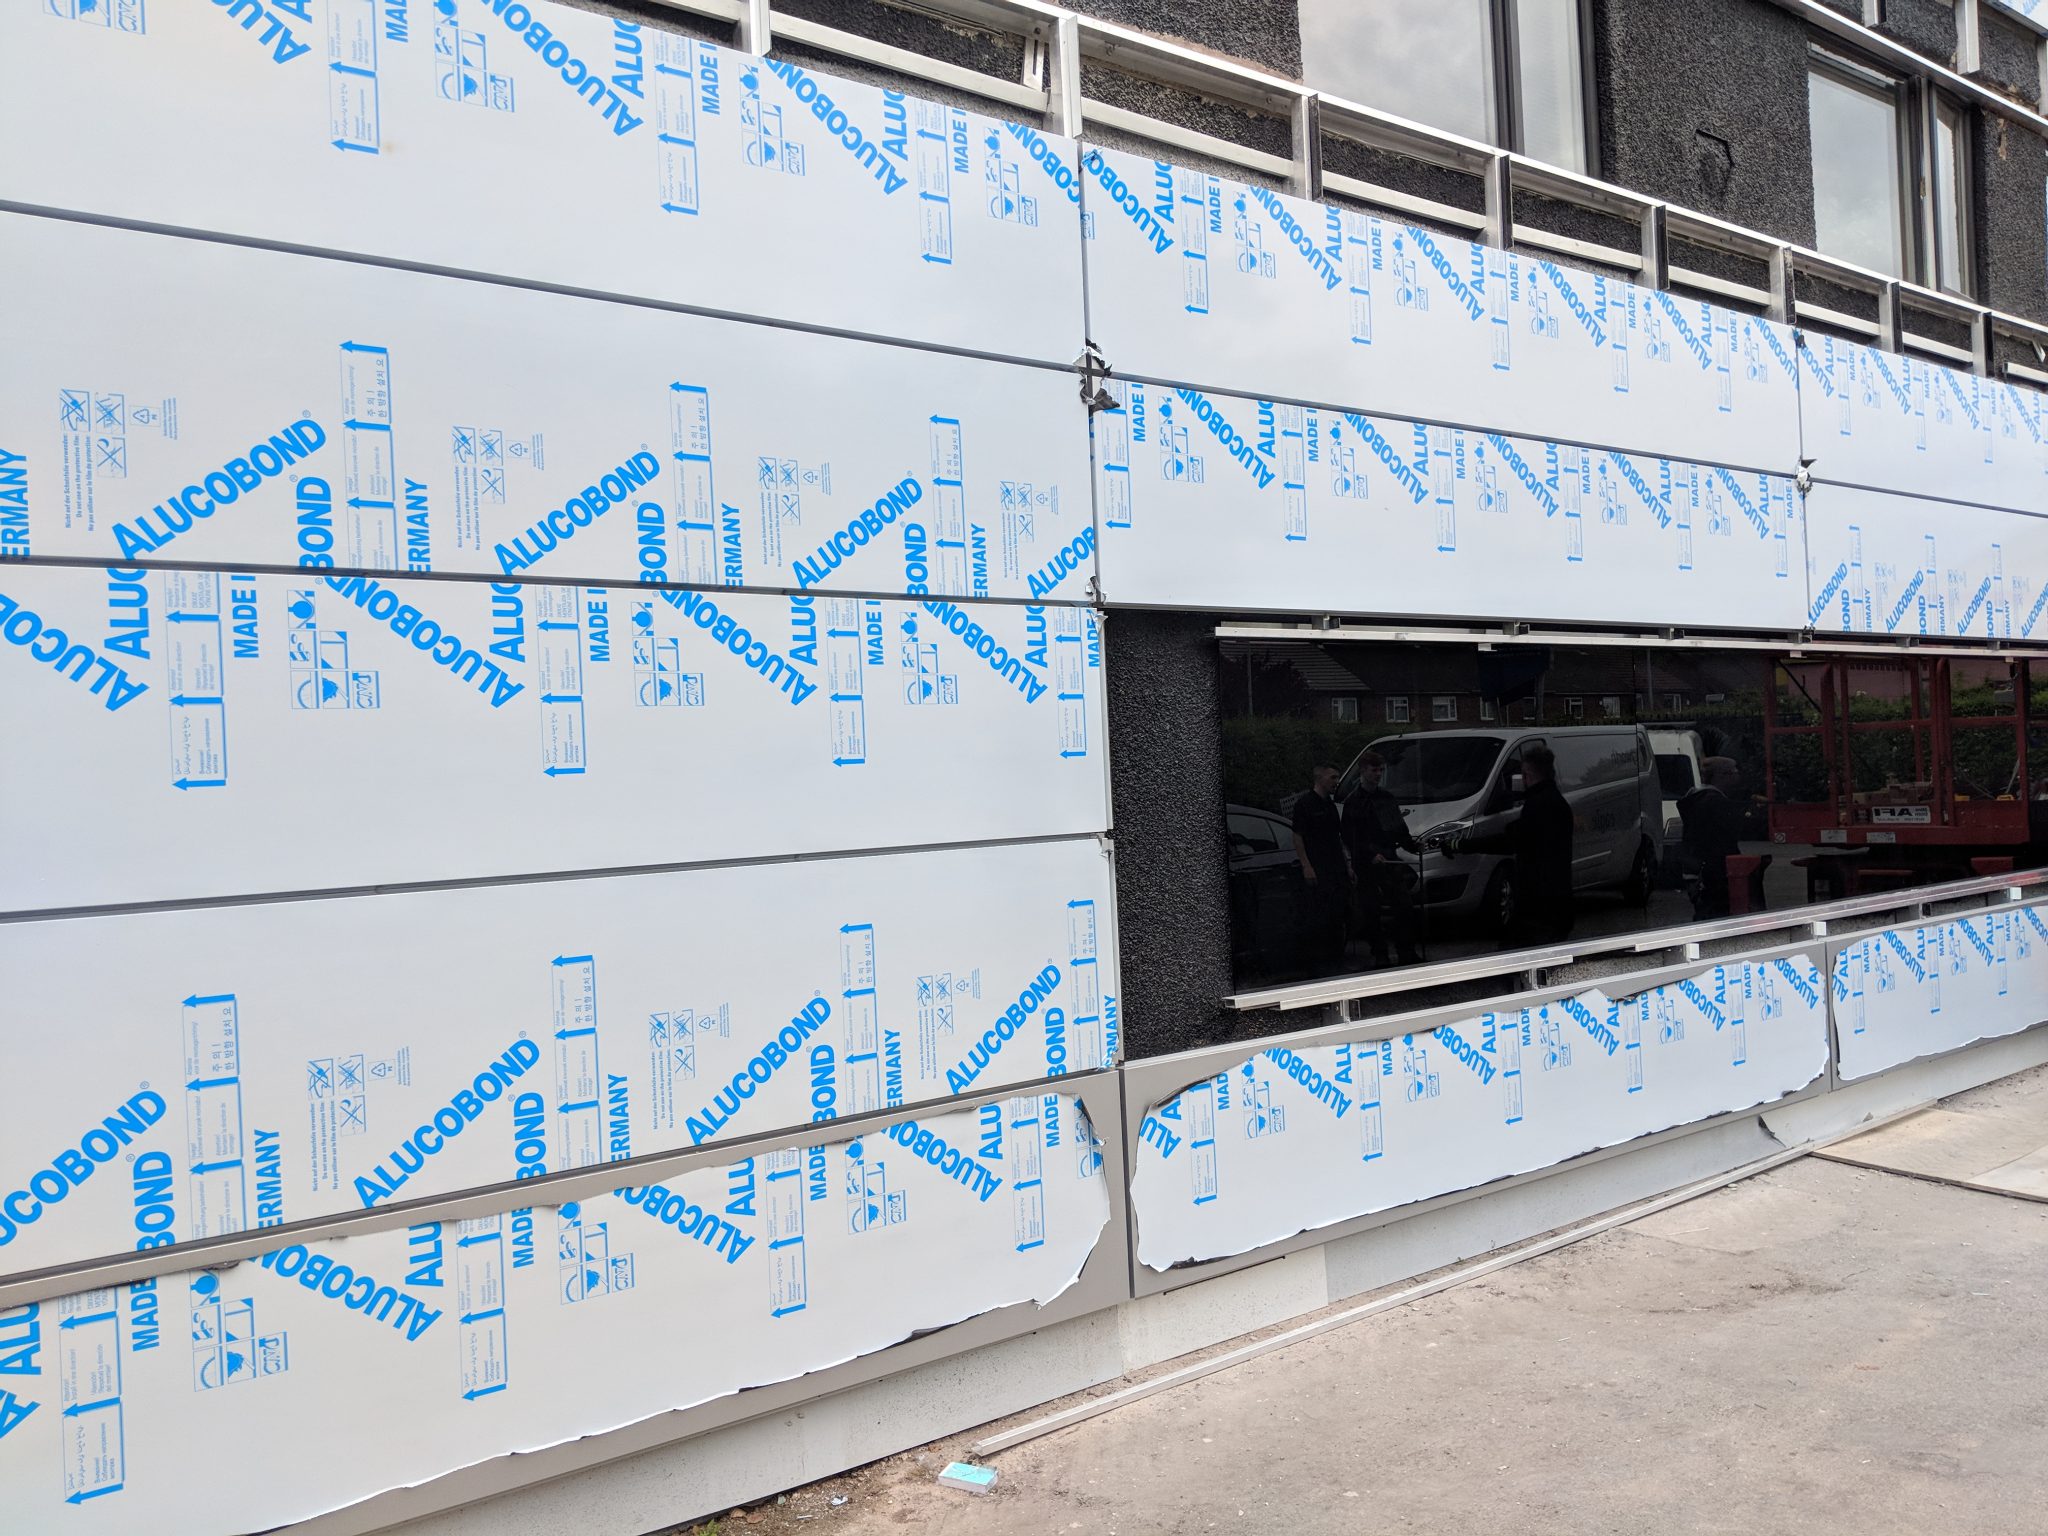
Stage Three
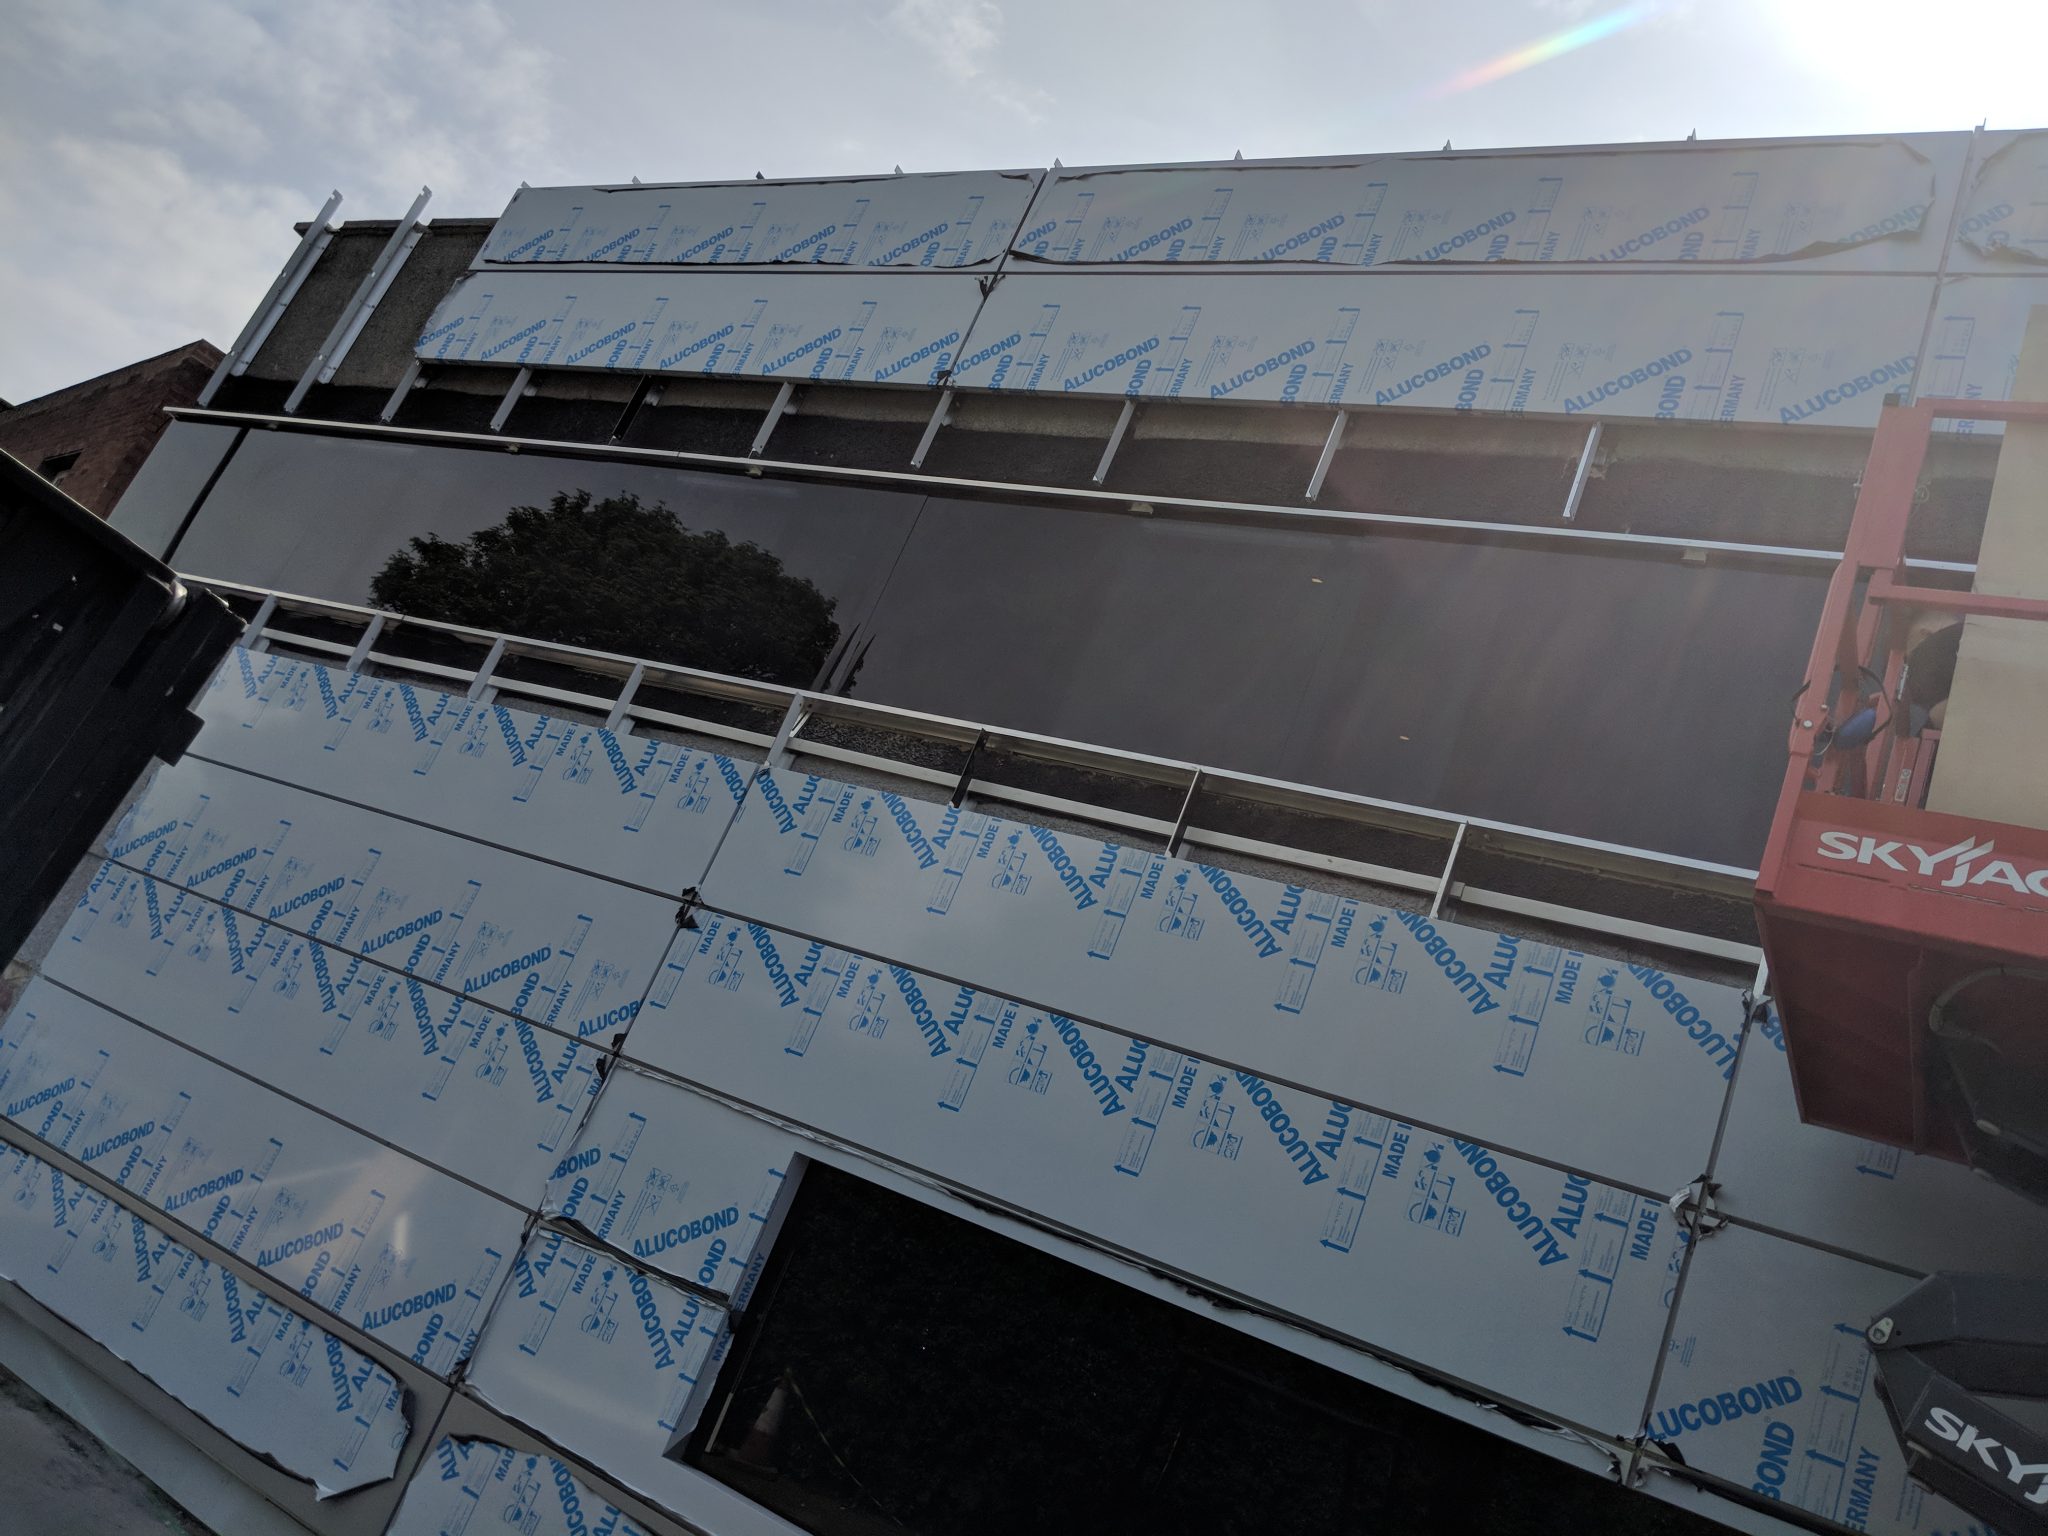
We chose the world renowned Alucobond Plus aluminium composite cladding from Alucobond for this project. Consisting of two aluminium cover sheets and a mineral-filled polymer core, Alucobond Plus is ideal thanks to its durability and long life.
Fire resistance was also a big factor in our choice. Alucobond Plus meets all the required standards – see the table on the right.
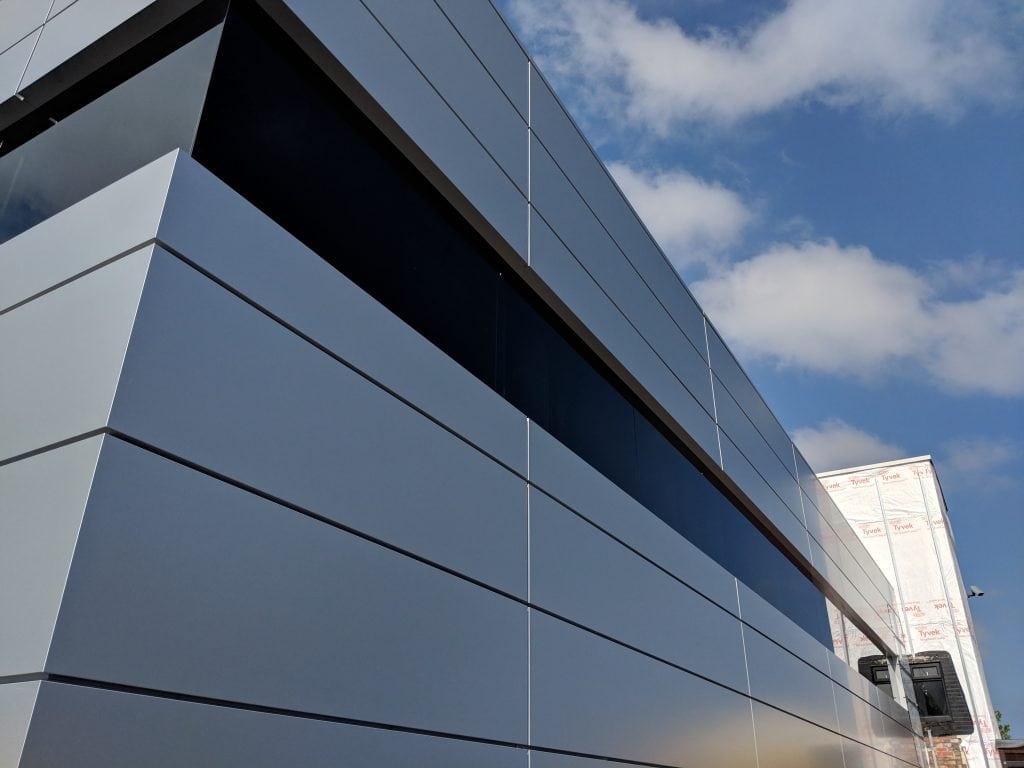
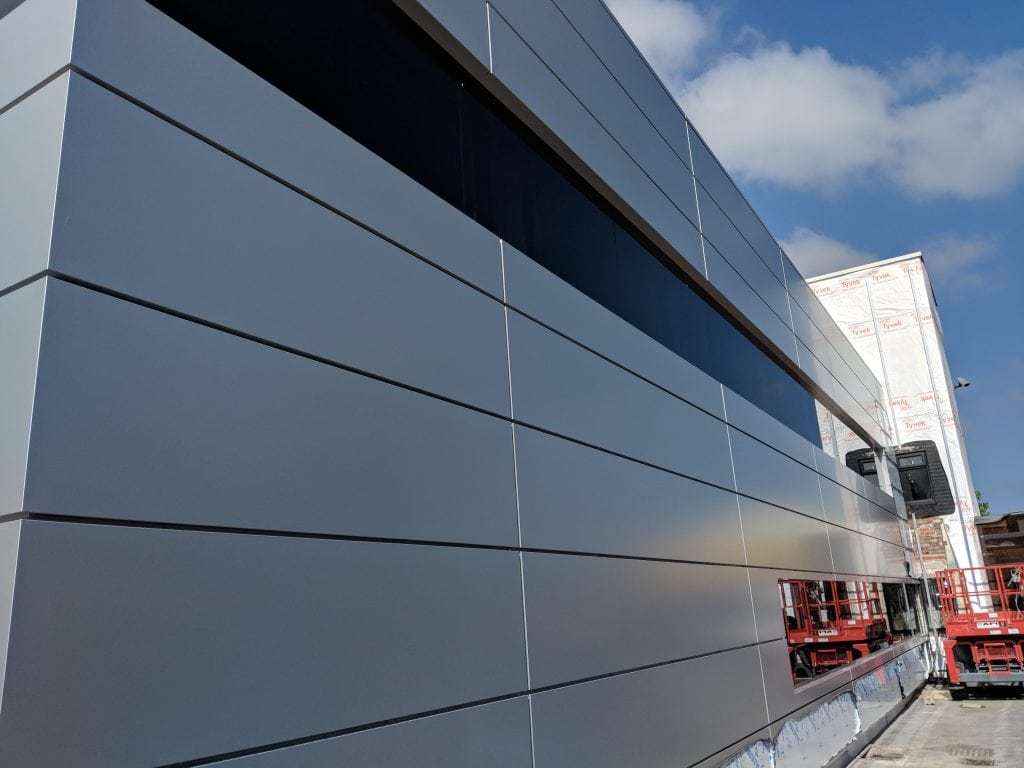
In terms of colour choice, we opted for Silver Metallic from Alucobond’s metallic finish range as the main colour with Anthracite Grey as a contrasting colour, chosen from the solid colour range.
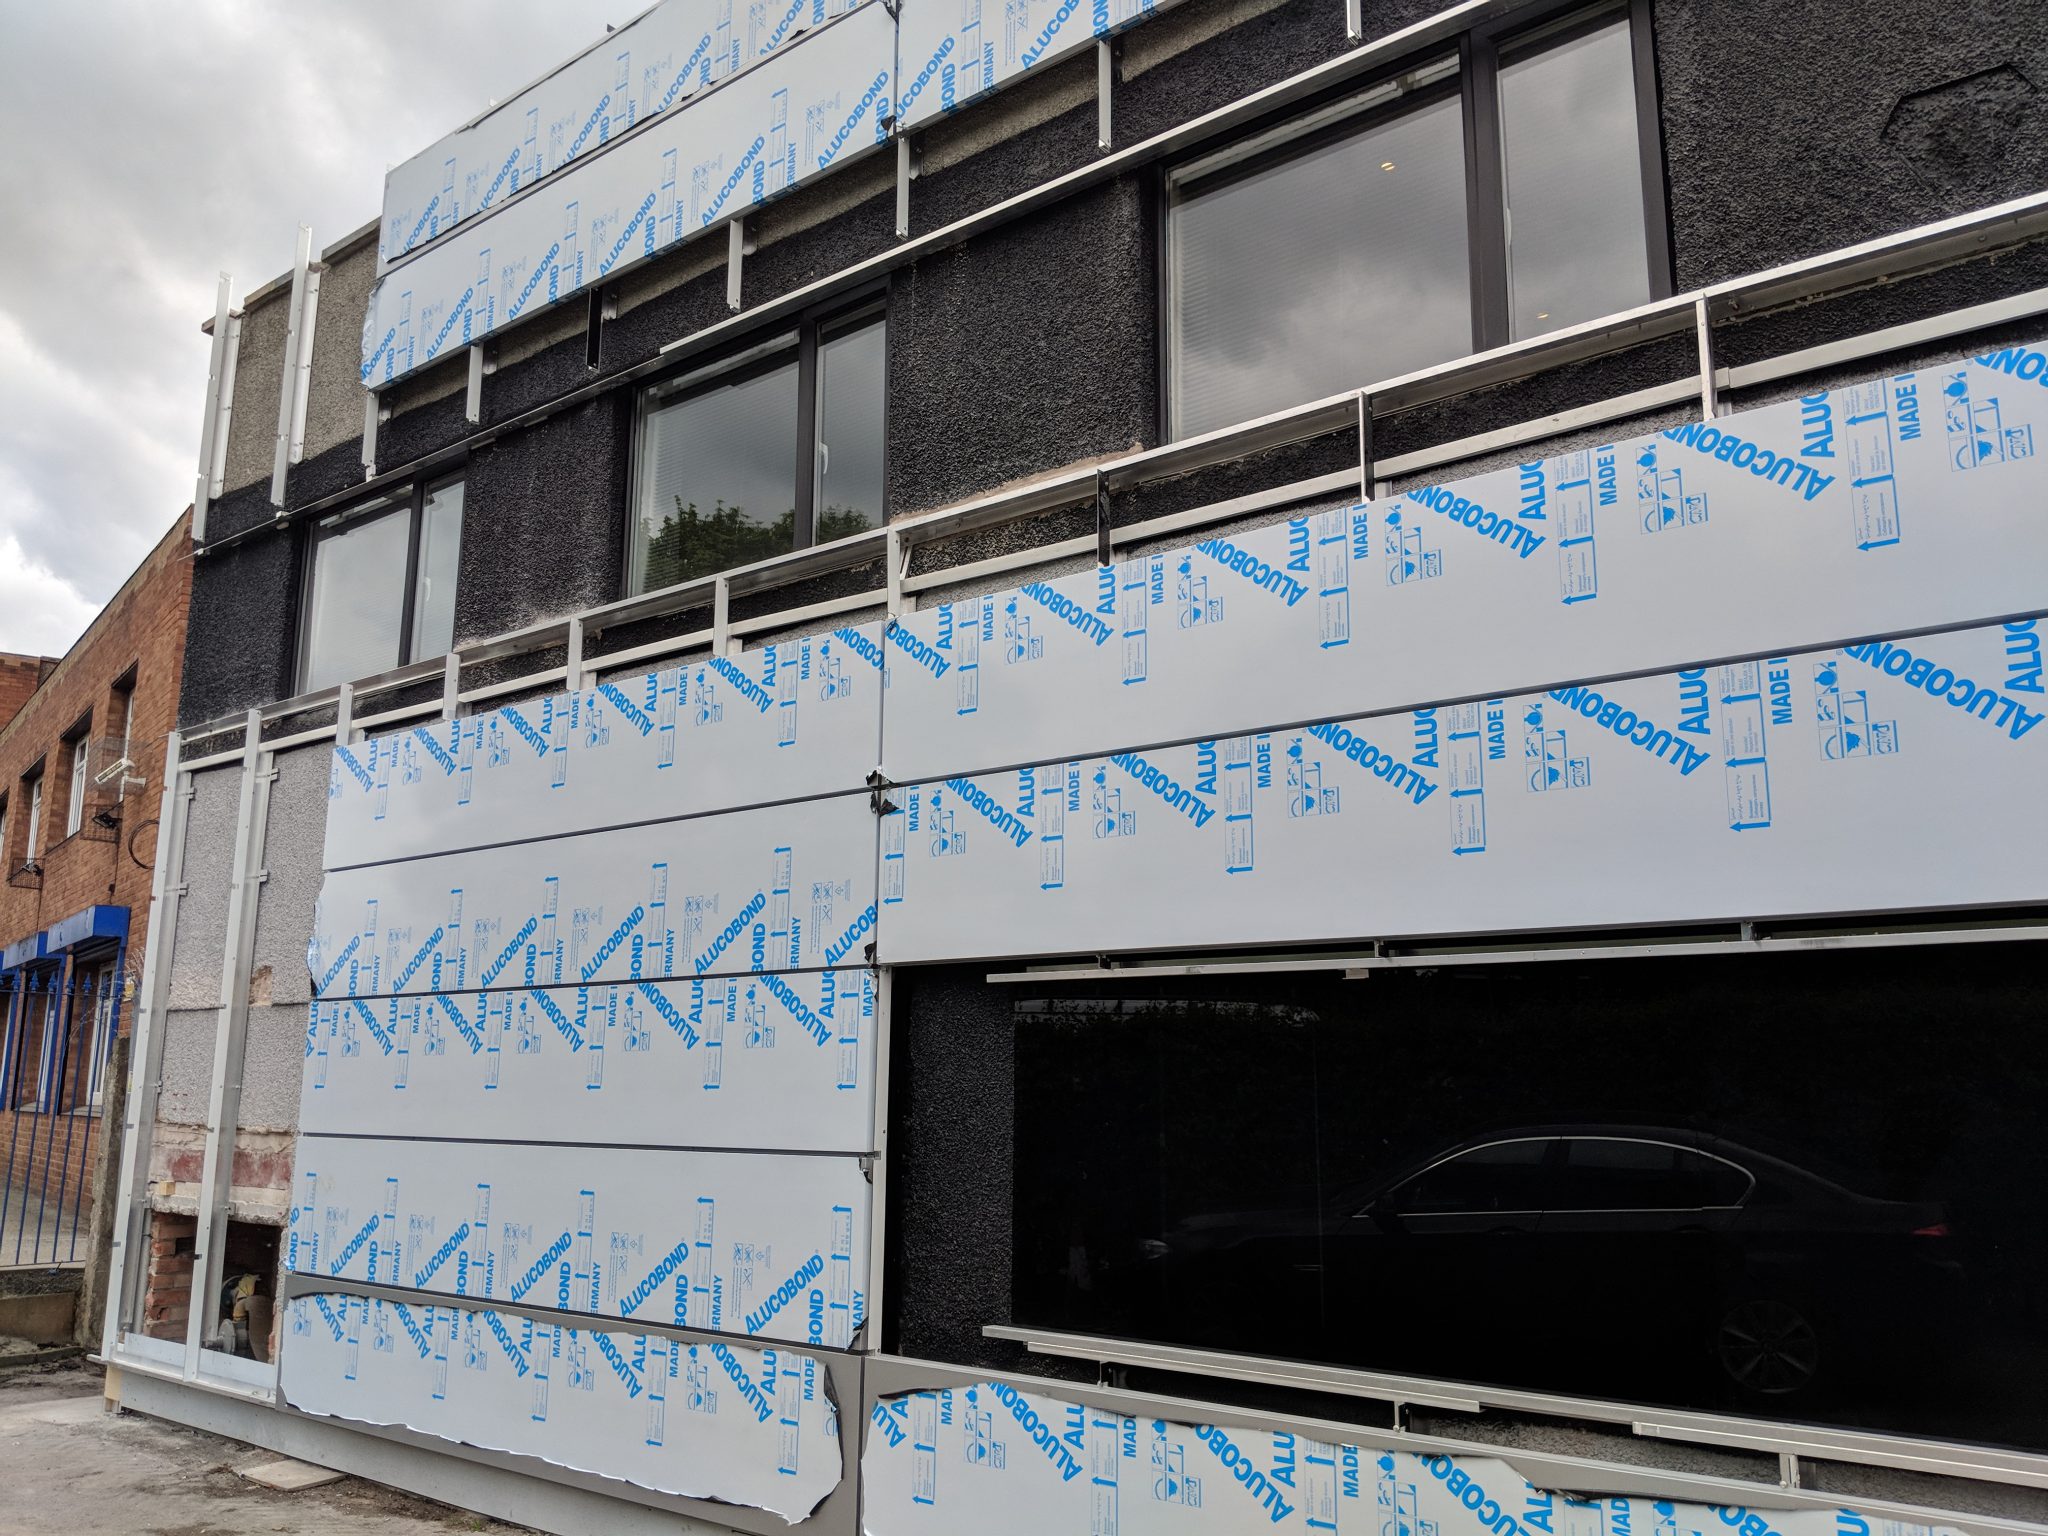
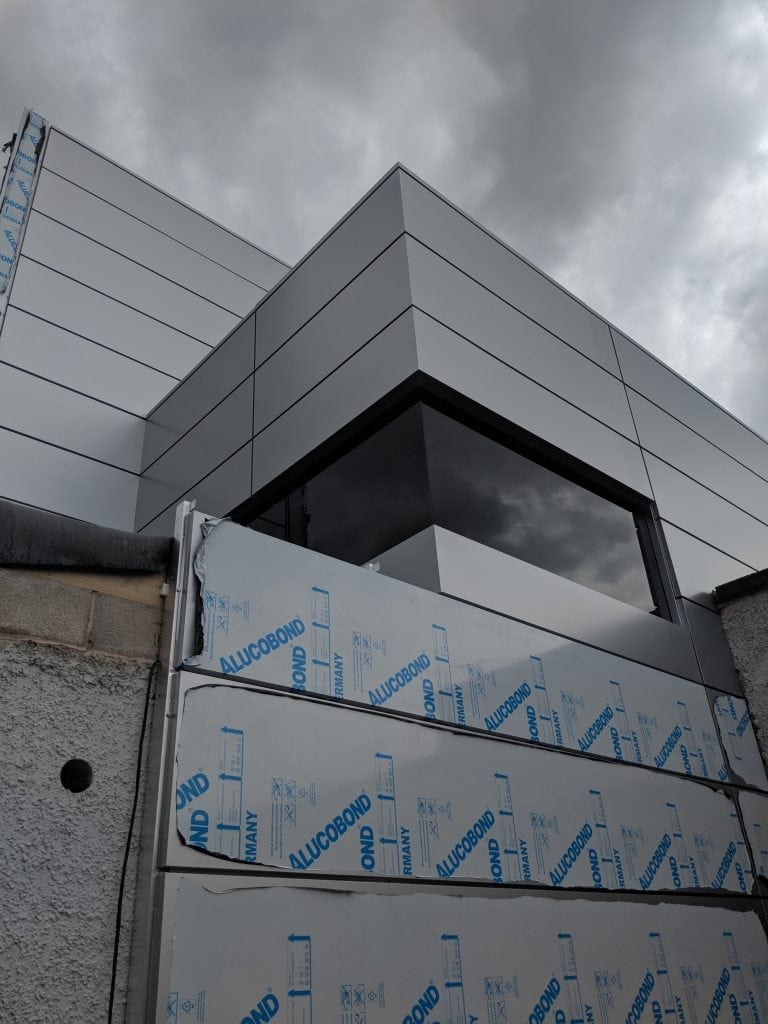
The cladding itself is extremely easy to install and work progressed quickly. Within a couple of days most of the left hand section of the building was clad and the ground floor tinted windows were fitted.
By the end of the week the second floor tinted windows were fitted, the rest of the cladding was being installed and the areas around the windows and other areas capped with specially cut Alucobond Plus.
Fire Classifactions (GB & EU)
| Test accord. to … | Classification |
| EN 13501-1 | Class B-s1, d0 |
| Large fire testing | Classification |
| BS 8414 part 1 & 2 | passed |
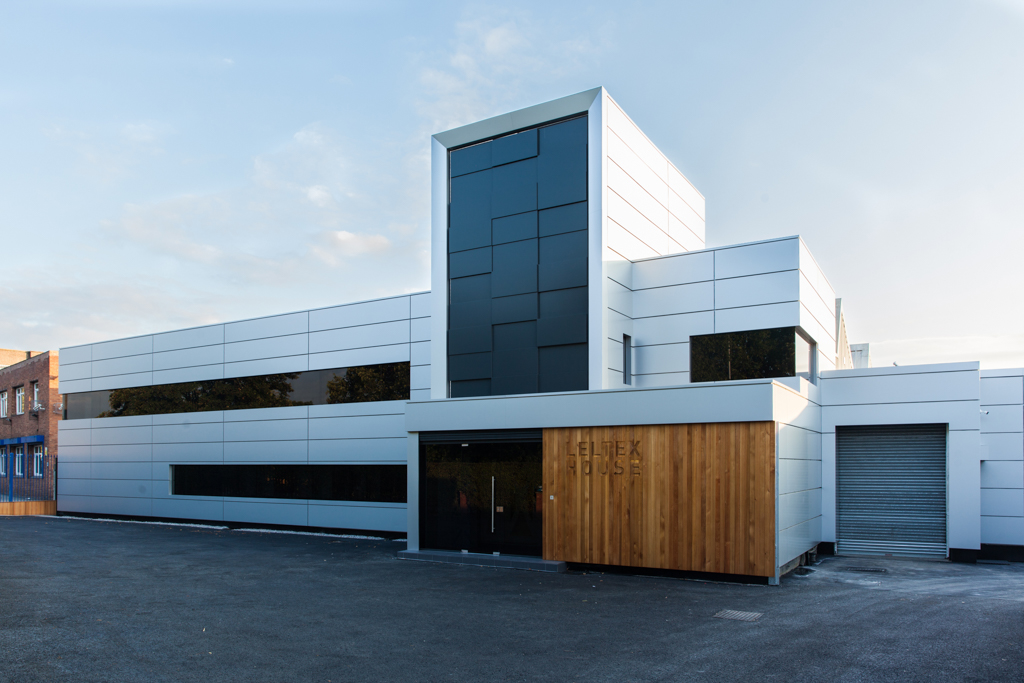
And just a few days later the whole left side of the building was clad, the protective film removed and – in the sun or the rain – looking fantastic.
Stage Four
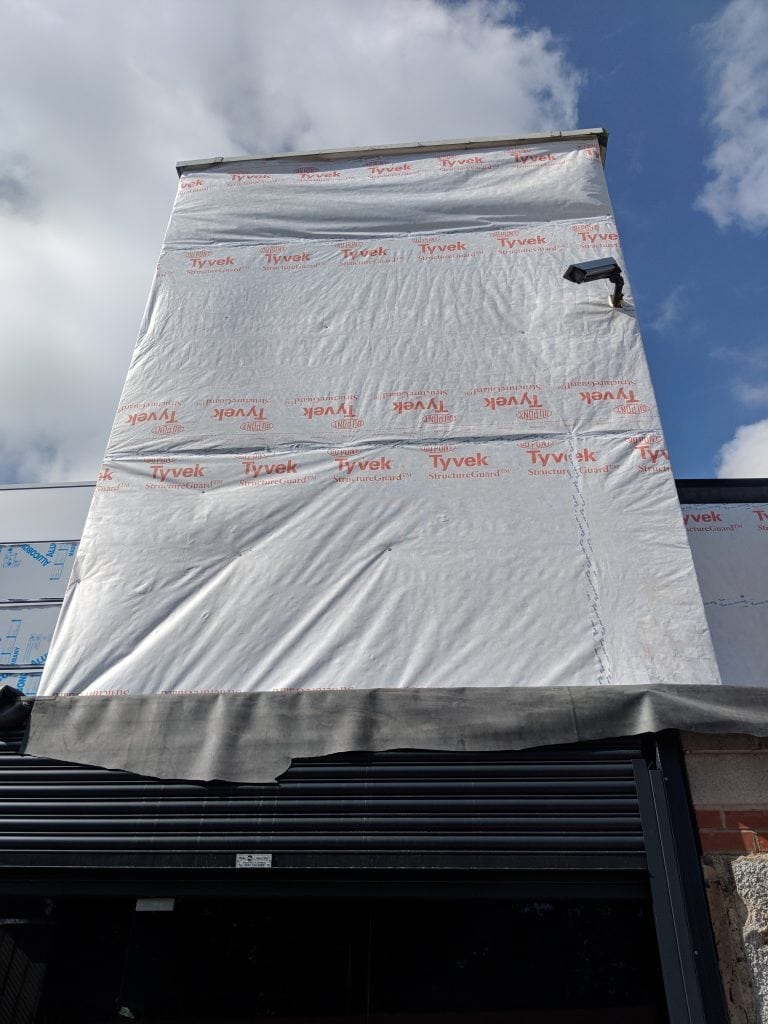
With the largest part of the structure dealt with, attention turned to the central tower where DuPont Tyvek® StructureGuard™ was applied before the aluminium uprights were installed.
This was to help protect the building and make it easier to install the Alucobond cladding on what was a rough surface following the removal of the old cladding.
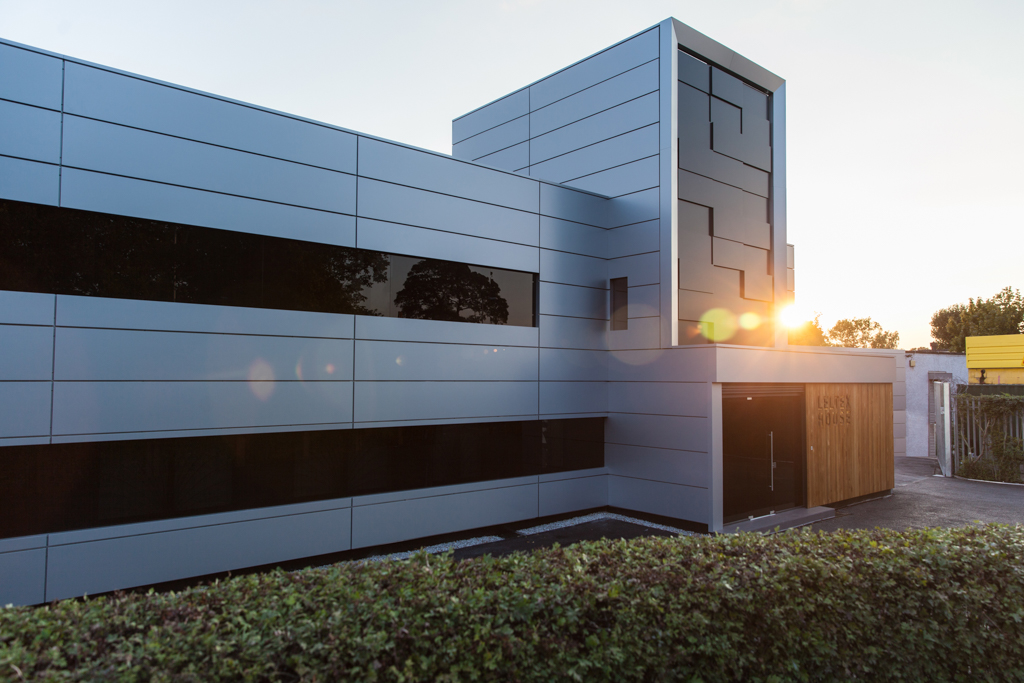
At the bottom of the shot on the right you can make out the newly installed black security roller shutters, which cover the new tinted glass entrance doors.
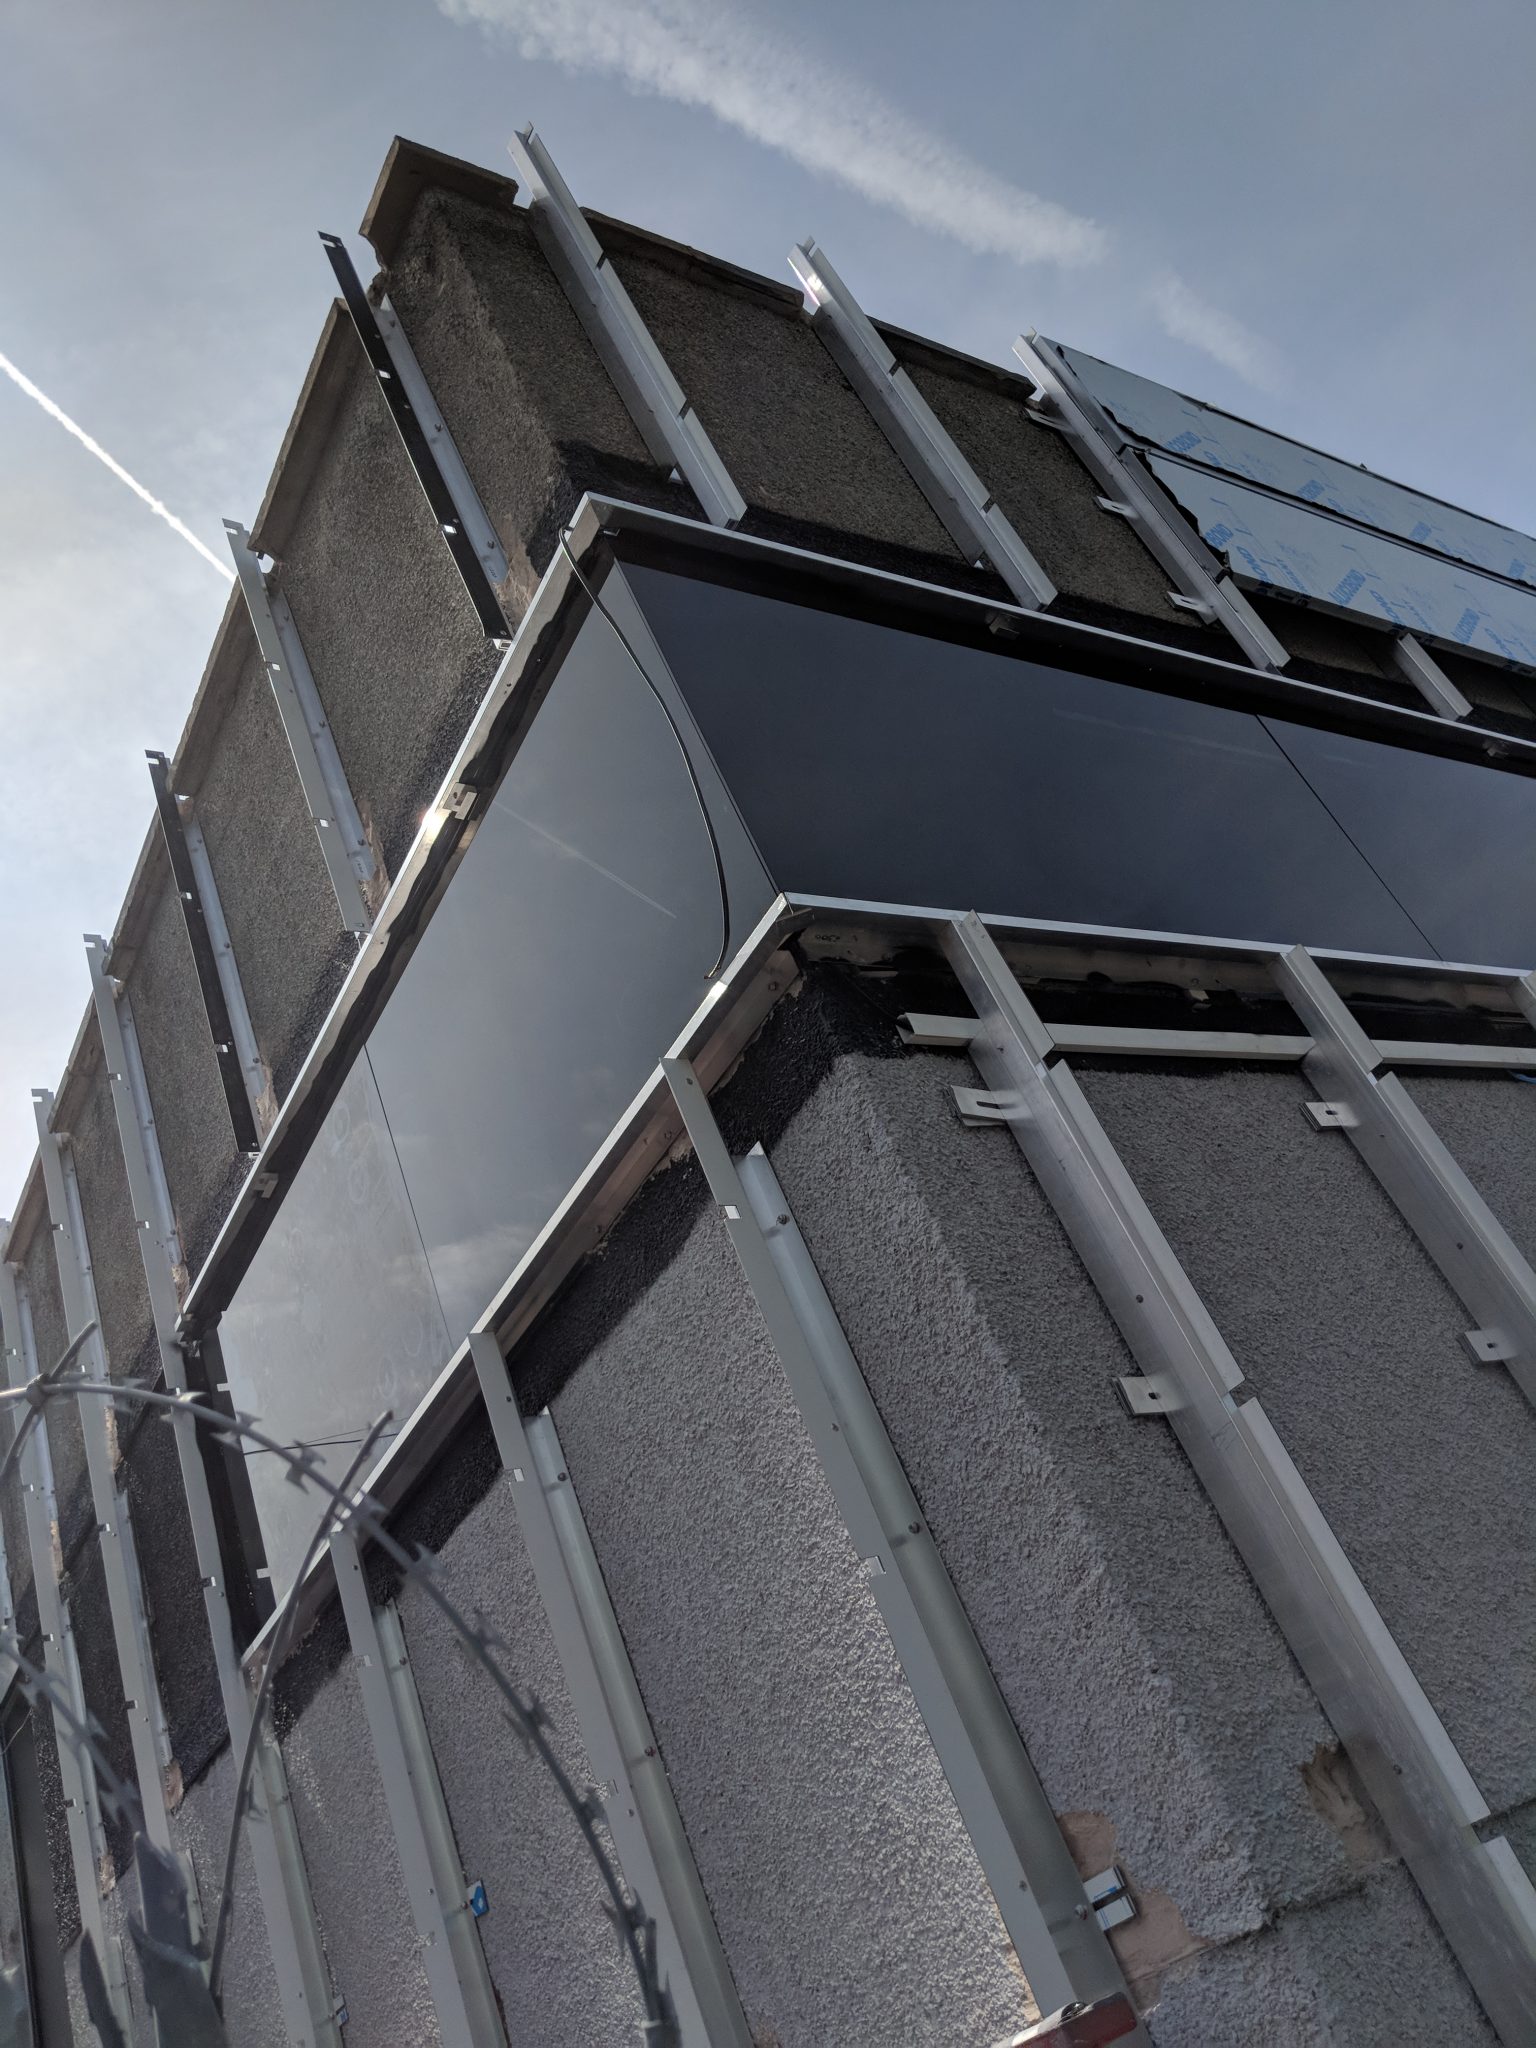
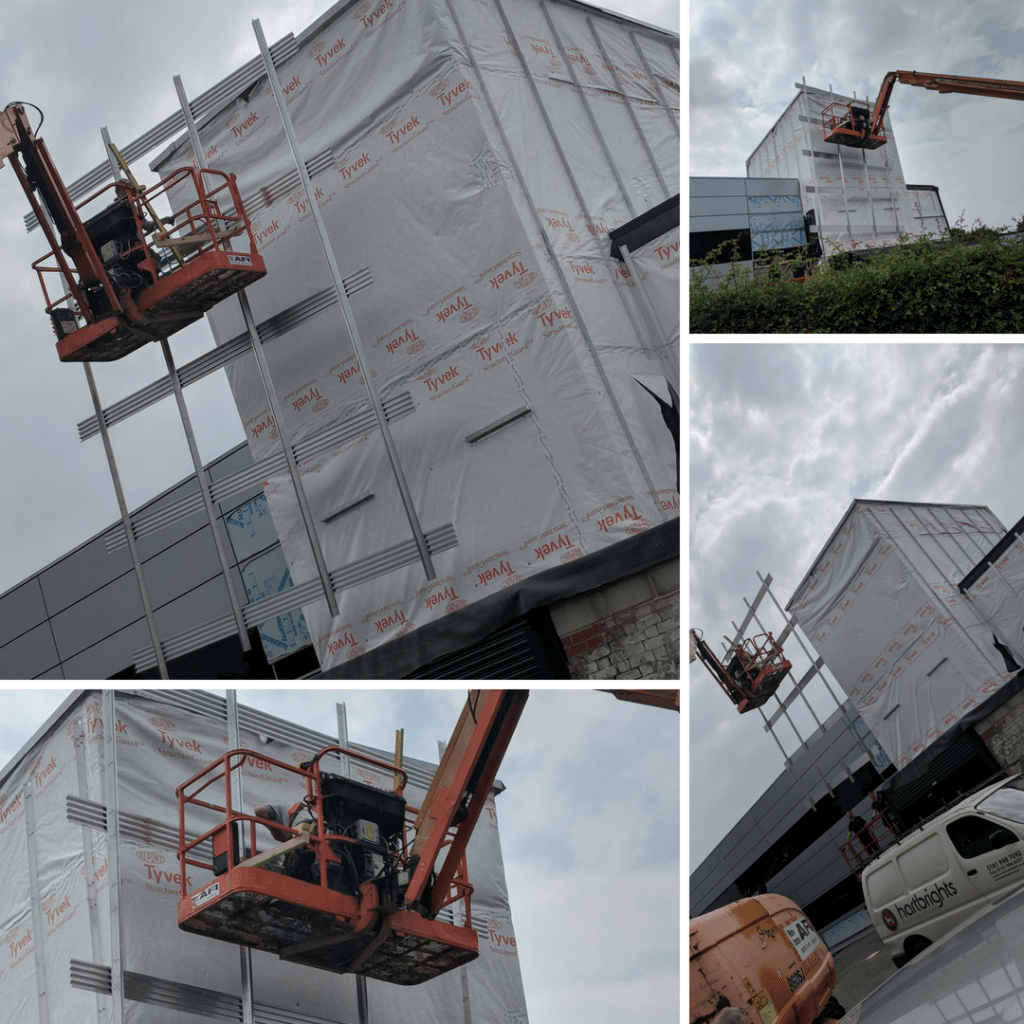
Because of the nature of the design, the mounting for the cladding on the front of the tower had to be put together on the ground and lifted into place. This required absolute precision to ensure it fitted perfectly and, when complete looked as it should.
Stage Five
Preparation work on the tower complete, the cladding to the right of the tower was fitted, along with more tinted glass windows. To ensure a uniform look to the overall building careful measurements were applied.
Perhaps the most difficult part of the project, the right side of the building also incorporates drainage and wiring for the CCTV system, all hidden behind the cladding.
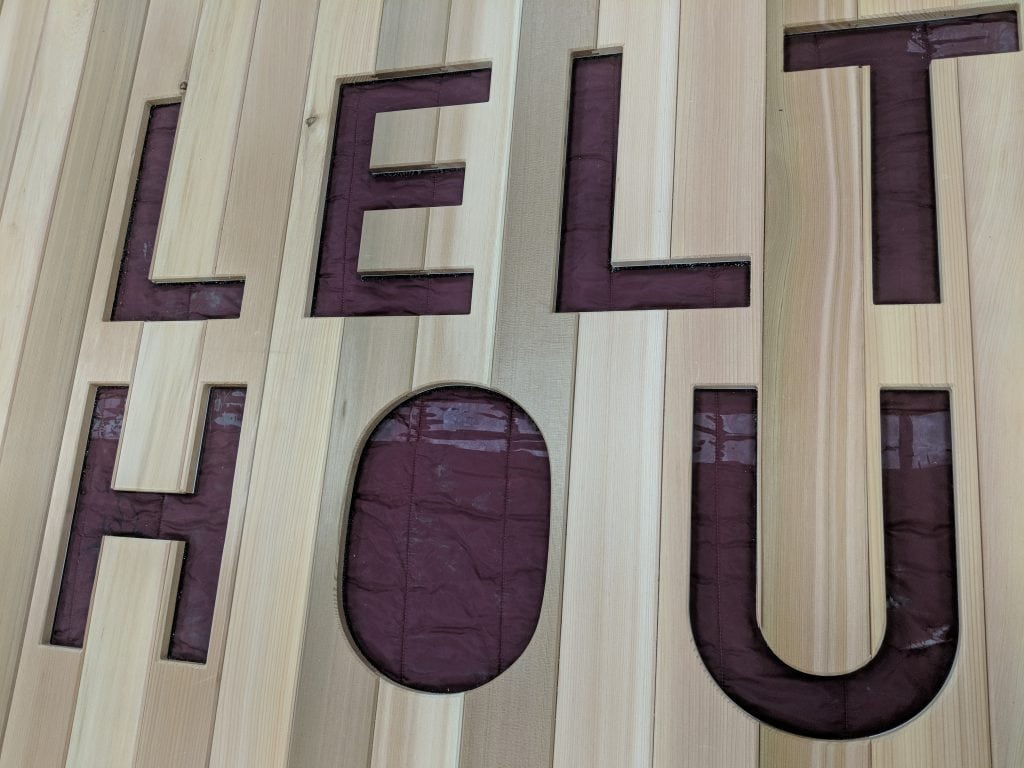
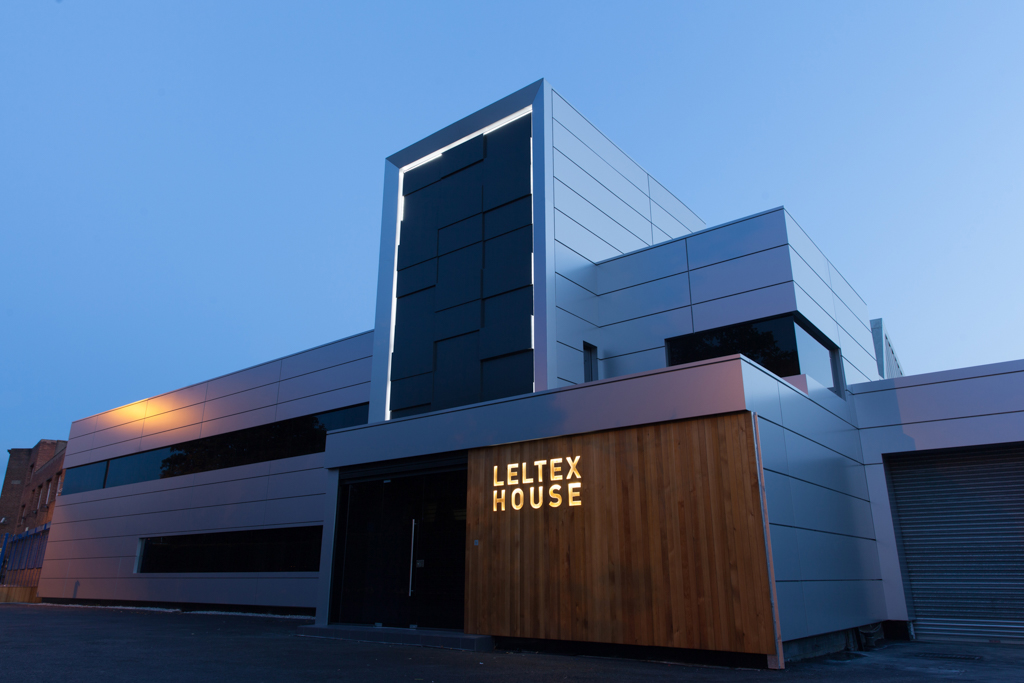
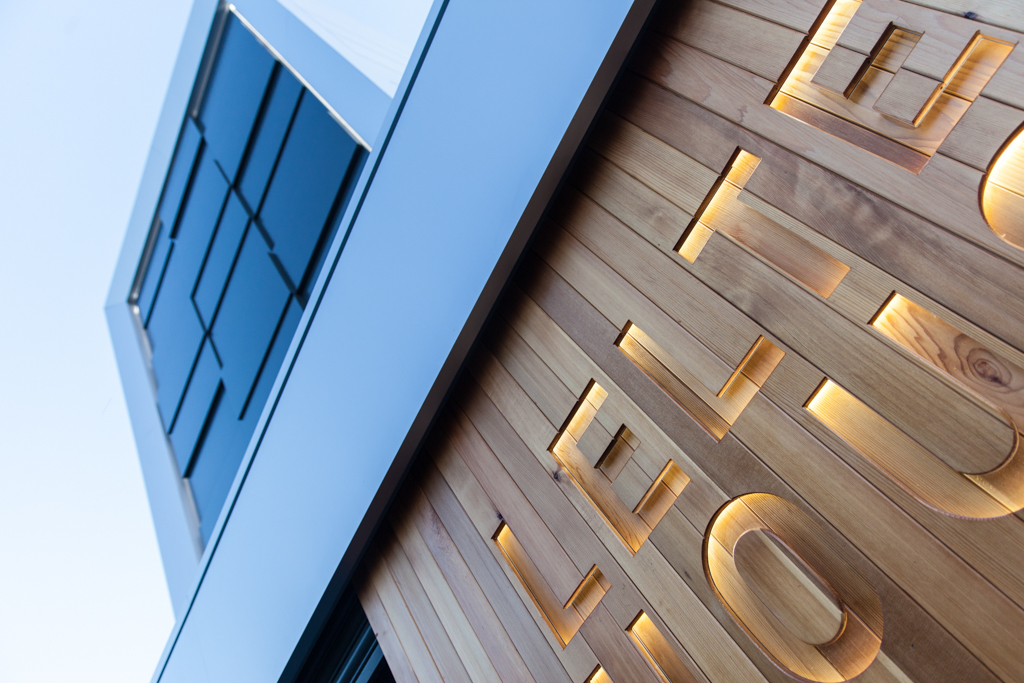
Behind the scenes, the hardwood cedar panelling was being prepared, incorporating cut out letters for the name of the building.
Eventually these letters would be beautifully backlit by LED lighting.
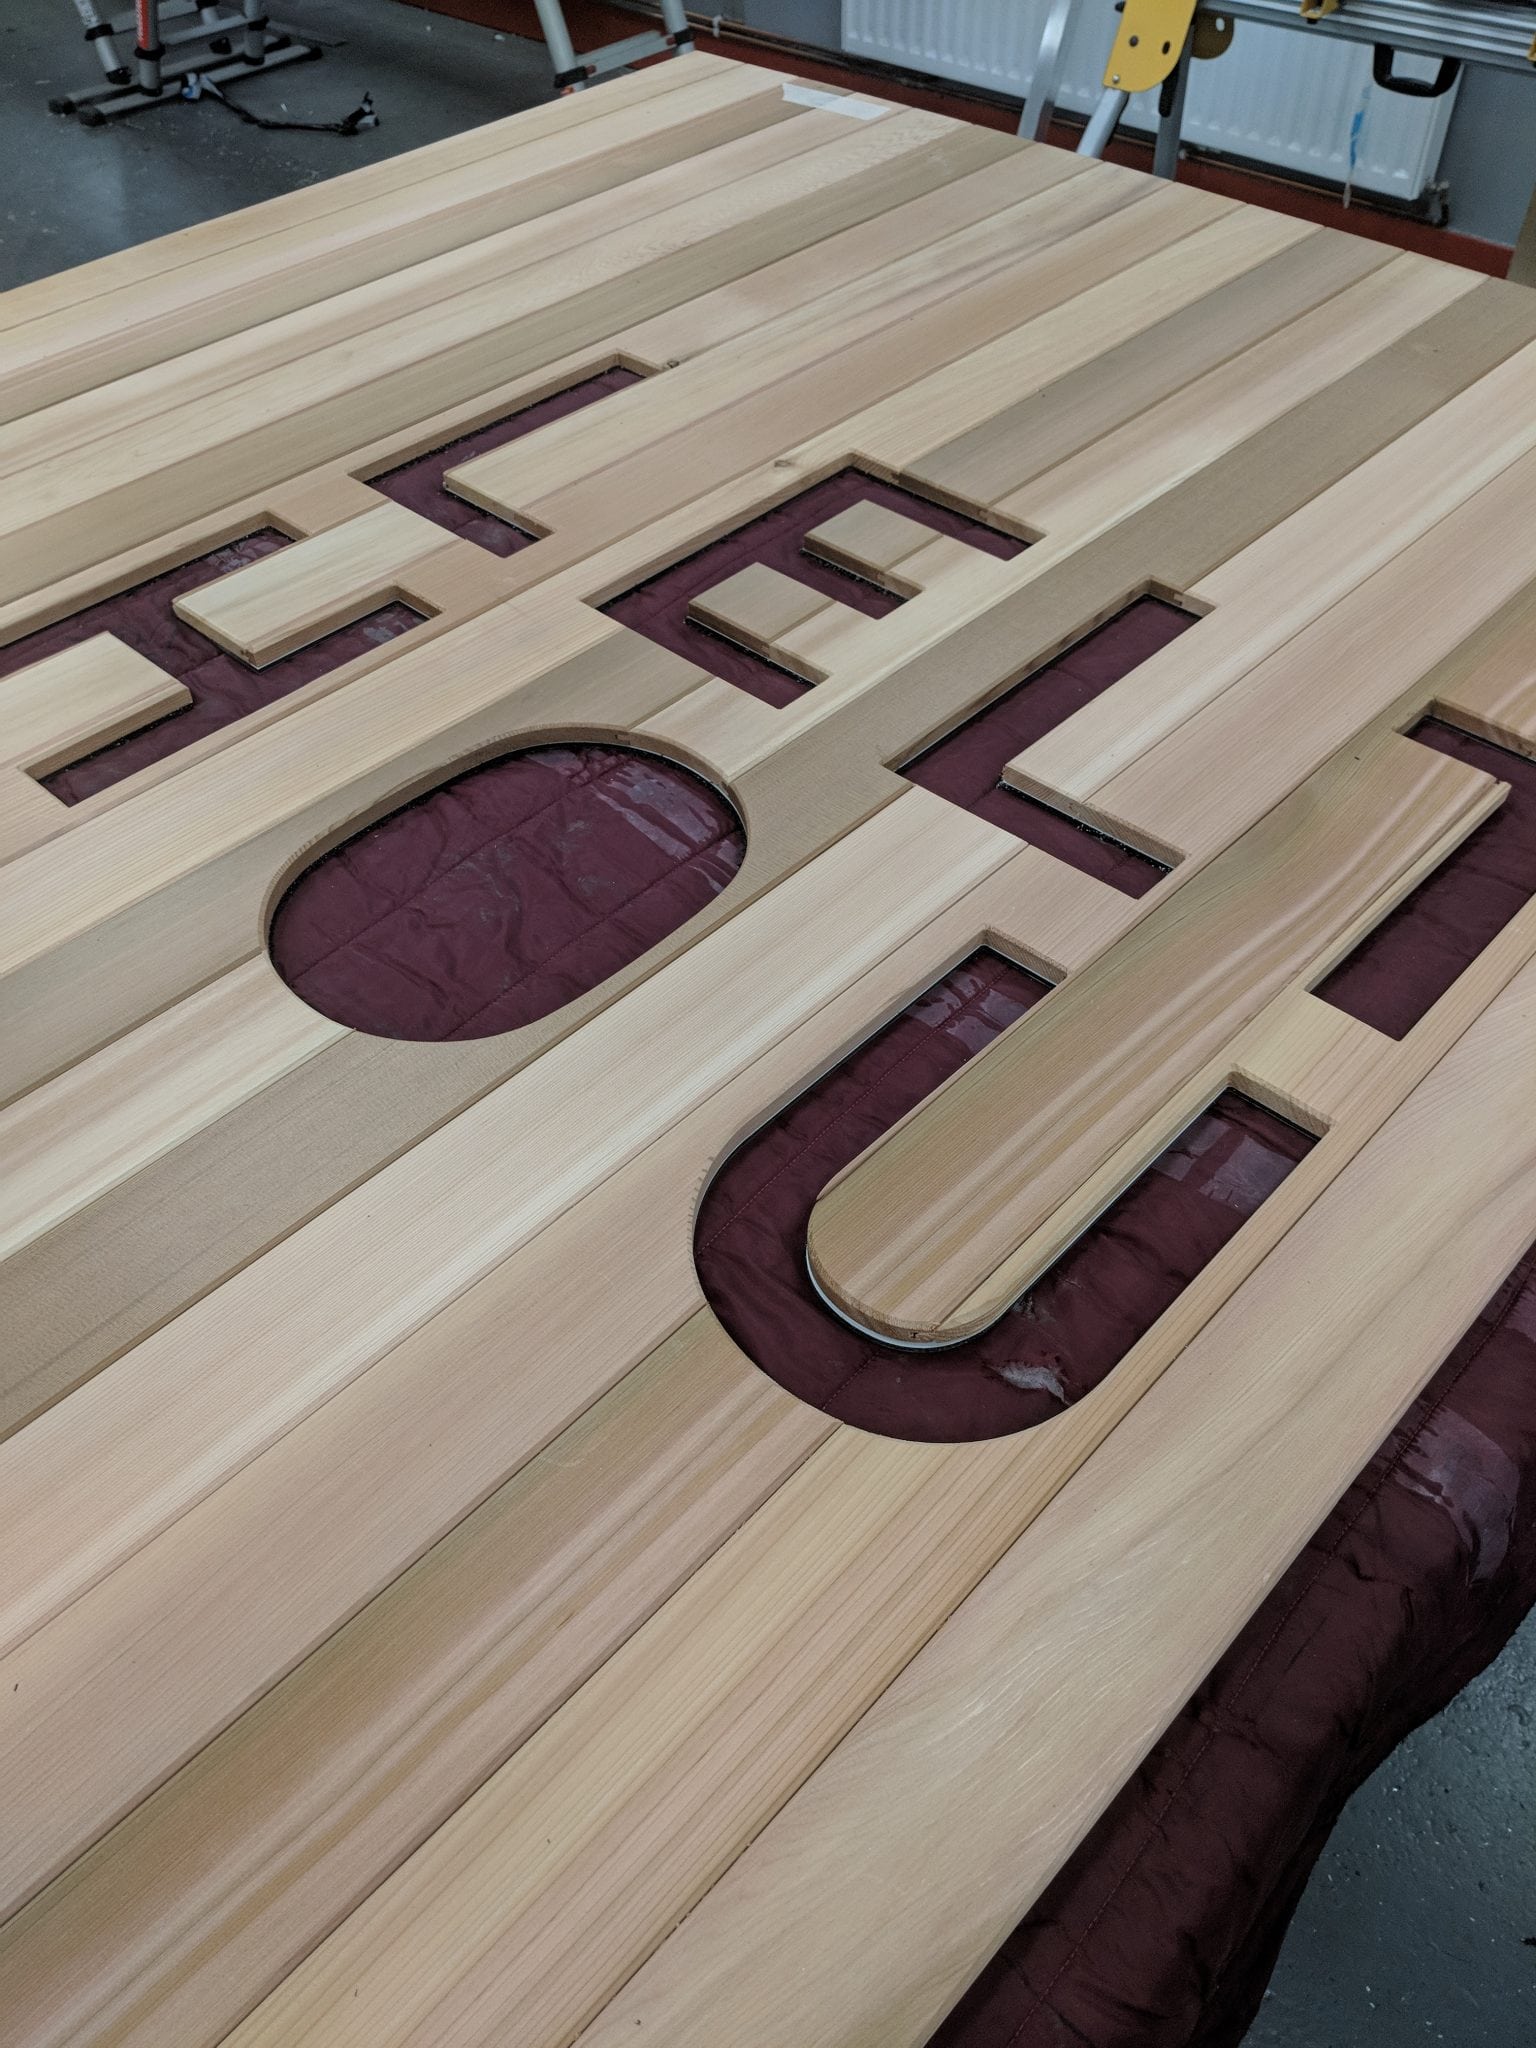
In all, three sheets of wood panelling were prepared to sit alongside the newly fitted entrance, designed to fit seamlessly with the aluminium composite cladding.
Stage Six
With both sides of the building complete, all other preparation complete and the wood panelling ready, the centrepiece – the tower itself – was tackled.
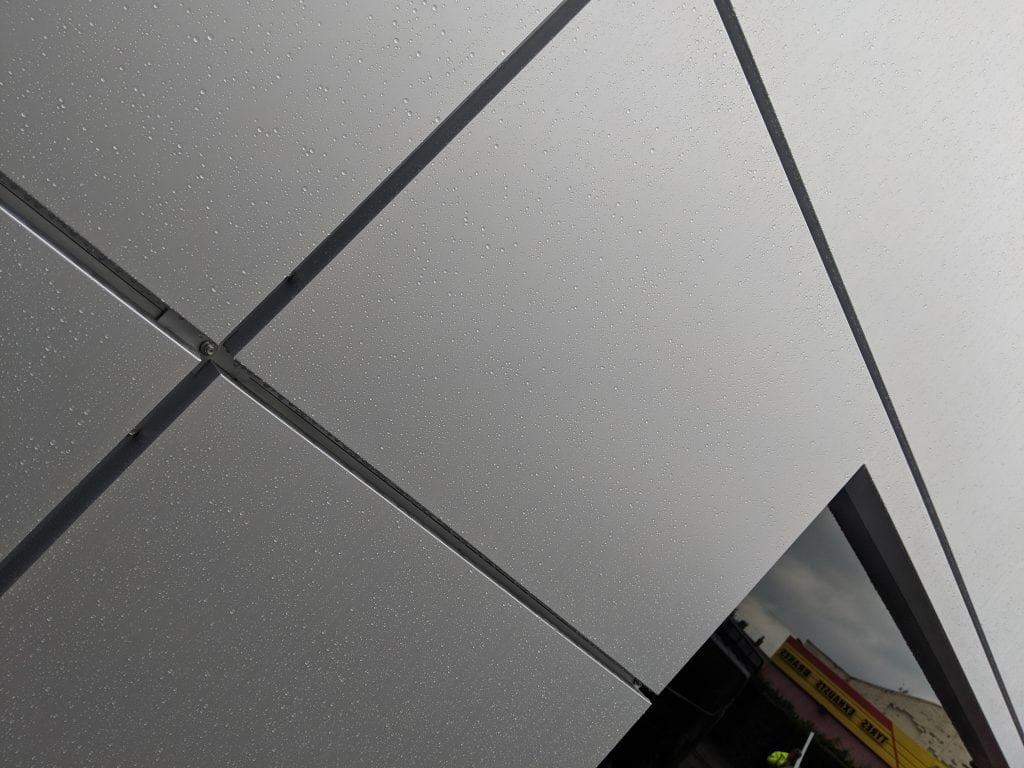
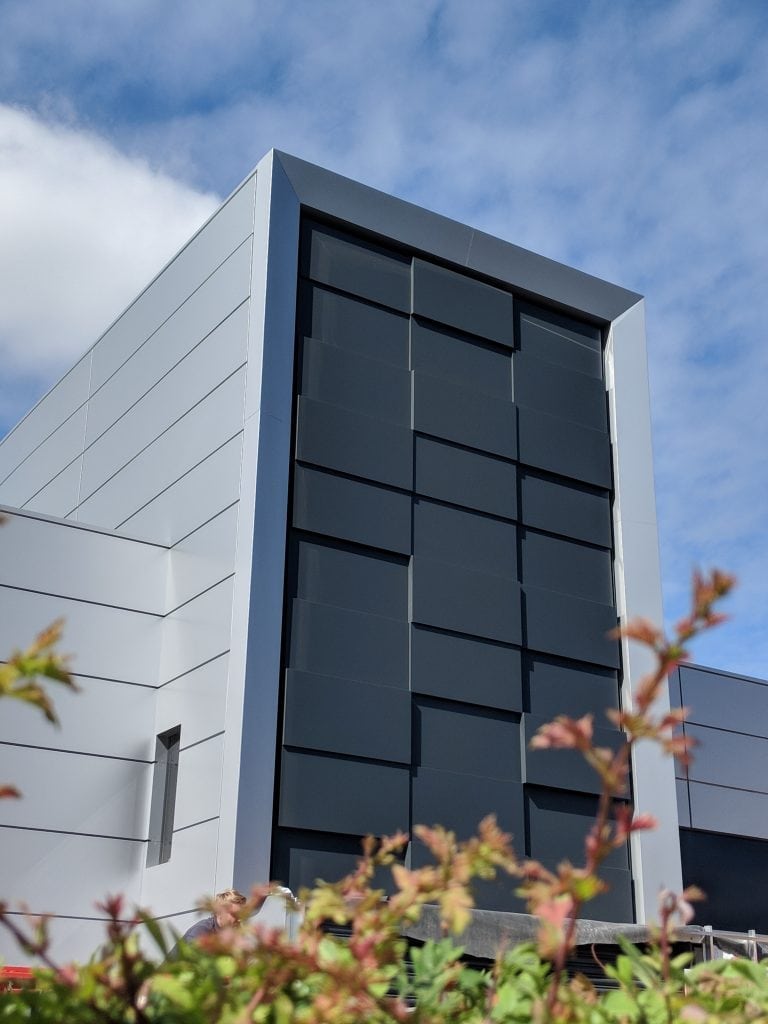
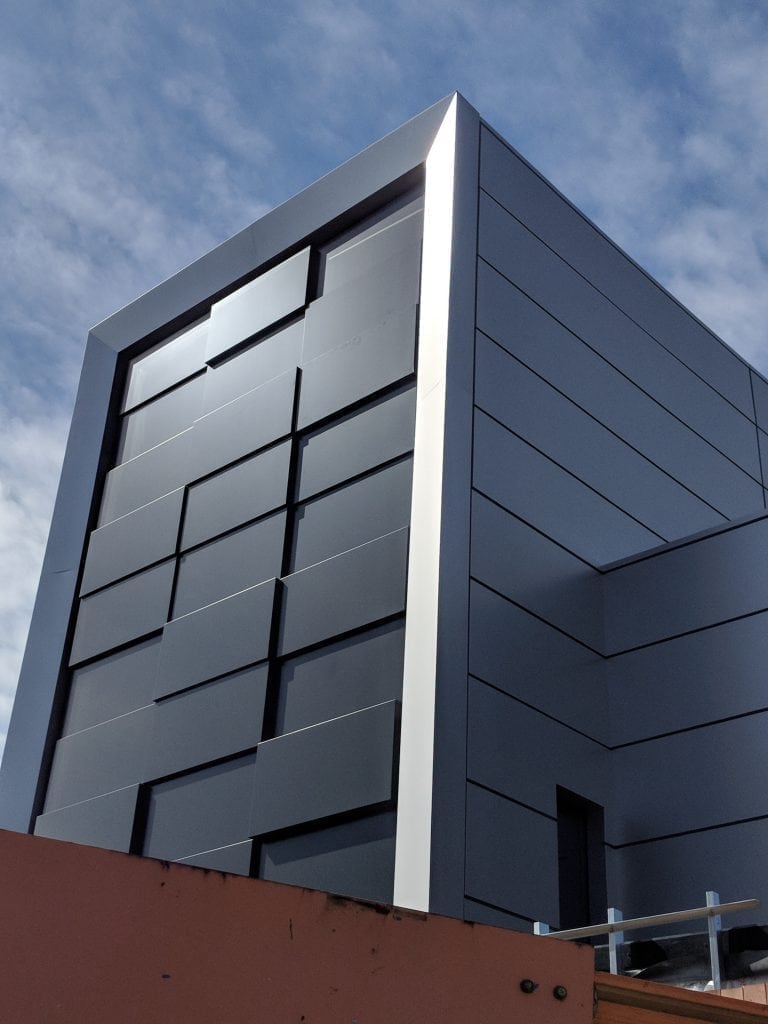
Angled Metallic Silver ALUCOBOND® rain screen cladding was fitted around the outer edges before the Anthracite Grey cladding was installed, section by section to the middle.
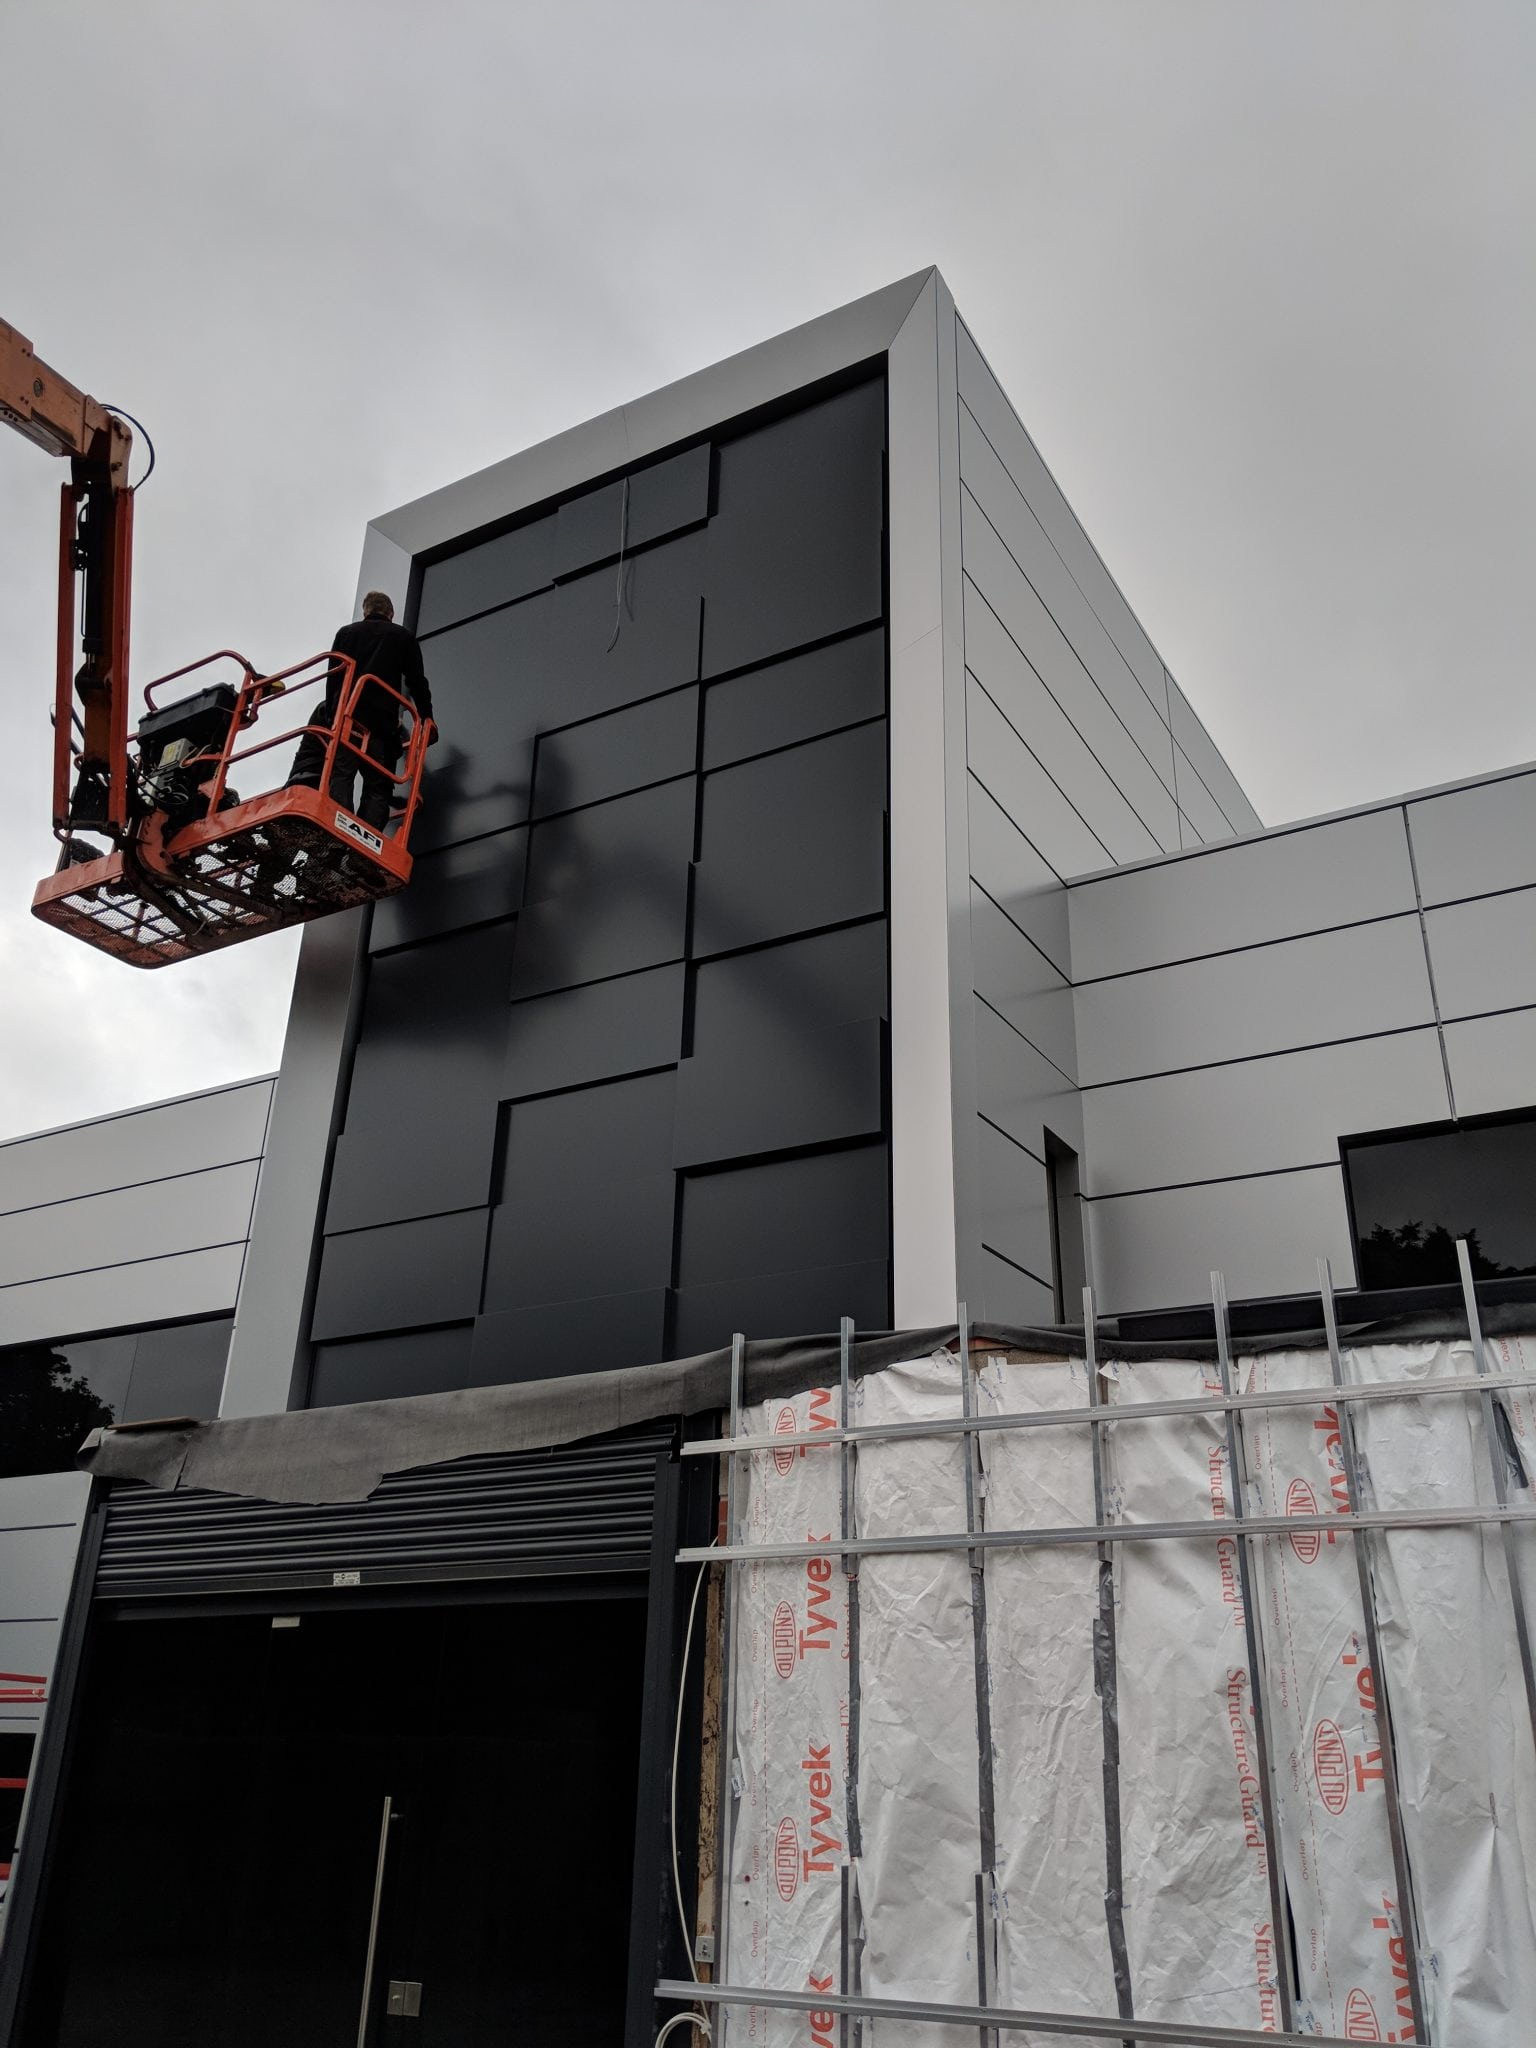
The panels were staggered in depth to create an eye catching effect that appears different from each angle.
The outer edges were fitted with LED lighting, set up on a meter to be lit from dusk ’til dawn, whilst the wood panel frontage was installed to the right of the main entrance.
Bar a little snagging to ensure every detail was covered, Leltex House was complete after only six weeks.
Materials Used
- ALUCOBOND® – Metallic Silver
- ALUCOBOND® – Anthracite Grey
- Hardwood Cedar
- LED Strip Lighting
- Tinted Glass (Windows & Doors)
Project Gallery Leltex House, Manchester
Like what you see?
Contact us today to discuss your cladding requirements.